Another marching band season is just about to begin! Equip your drumline students for greater success from the first rehearsal, by making sure their harnesses (also called carriers) and stands are well-fitted and in good working condition.
The Right Fit
Ill-fitted harnesses affect performance, promote bad posture and can cause real injury. Too loose and the extra wiggle room causes the drum to move unpredictably with every step. Too tight in the wrong areas and arm movement gets stifled, fighting good technique. Neither problem gets better on its own, and both get blamed on the player instead of the equipment.
Poor fit also accelerates wear. An uneven harness puts all the stress on one shoulder and one set of bolts, instead of distributing it across the frame the way the design intends. Eventually one side of the carrier strips out while the other side looks new.
Steps to Fit a Marching Harness
- Remove the drum and have the student put the harness on, USING GOOD POSTURE
- Adjust shoulder plate width (if possible) to the centerpoint of each shoulder
- Little to no air between the chest and the shoulder plates
- Apply downward pressure to see if the harness digs into the chest, and adjust angle if necessary (not always possible)
- Adjust the belly plate so it rests just above the hip crease, granting free leg movement
- Adjust the back support plate, if you have one, so it fits snug and centered
- Put the drum back on to check angle/height
- BASS DRUMS: straight up and down, at the height where set position puts the mallet at the optimal playing zone
- SNARES, TENORS, FLUBS: perfectly flat, with the playing surface at roughly belt height
As you make adjustments, make sure to tighten every bolt firmly, but don't overtighten or you'll risk bending or breaking components.
A Small Matter
Do you have especially young or small students? Even with adjustments, standard harnesses may not be a good solution. Manufacturers build lighter, smaller-frame harnesses specifically for this reason, like Yamaha's in-house Power-Lite series (MC-6300), built for middle and high school-sized players.
If your band program can't afford a second size of carrier, prioritize your smallest players getting first pick of whatever adjusts down the furthest. Kids grow fast too, so make sure to check harness fit a few times throughout the season.
Adjusting Different Brands
Most programs aren't using the newest, shiniest gear. Your harnesses might be old enough to drive, and plenty of programs run a mix of a few new carriers alongside older frames that are still perfectly serviceable. Major adjustment points are standard across brands, but the hardware holding the pieces together is not.
-
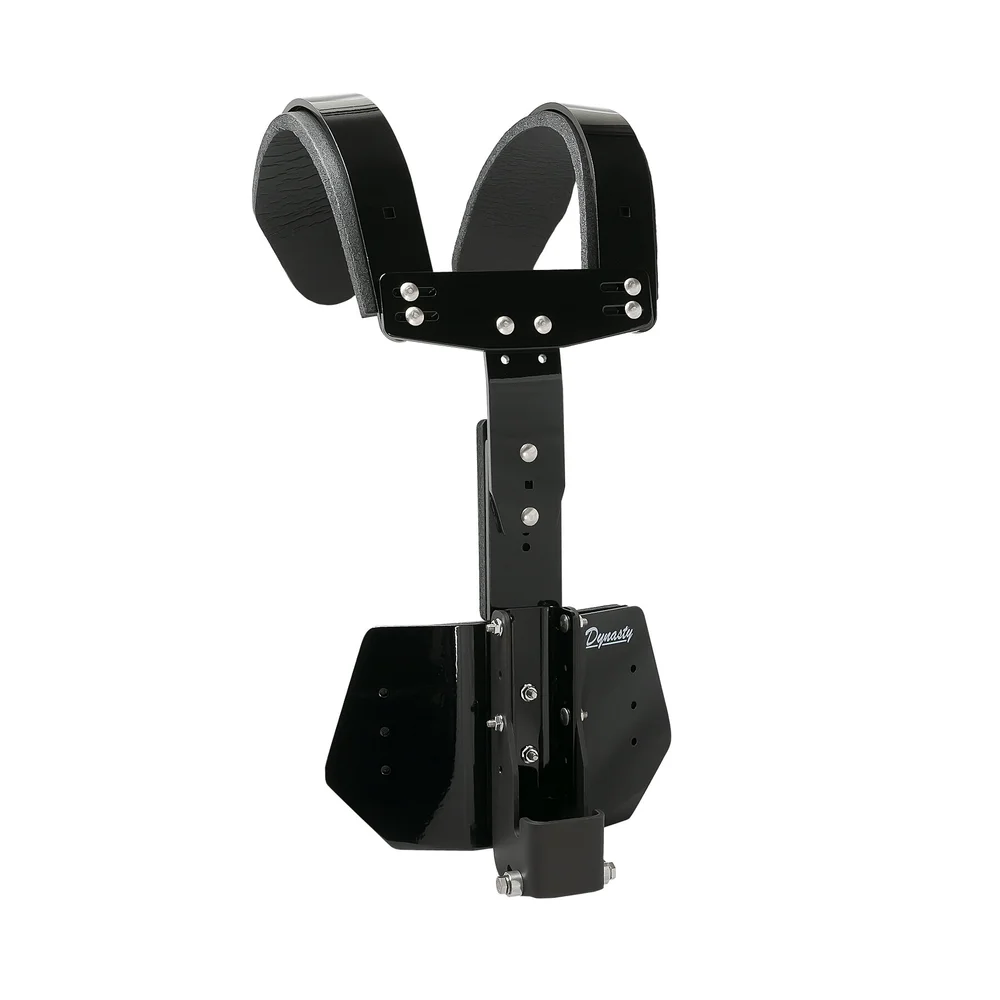 Dynasty: plenty of programs are still running the older T-Bar carrier with a bolt-on tilter kit, while newer inventory has shifted to the T-Max carrier's Single Entry Mount system, which drops the J-bar altogether and runs height on a track plate instead
-
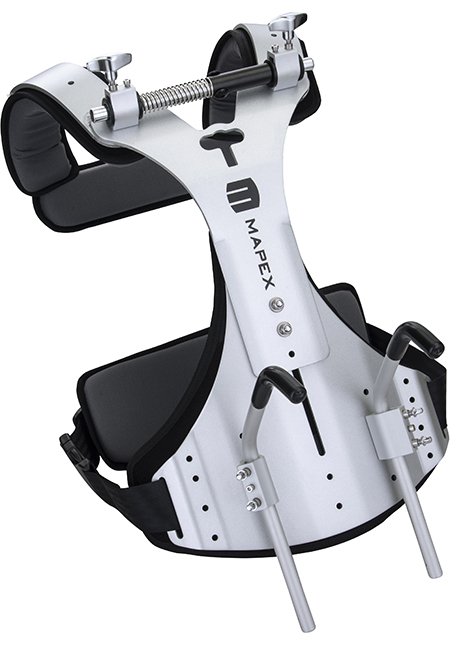 Mapex Quantum Mark II: mounts via aluminum J-arm brackets, built not to slip once locked
-
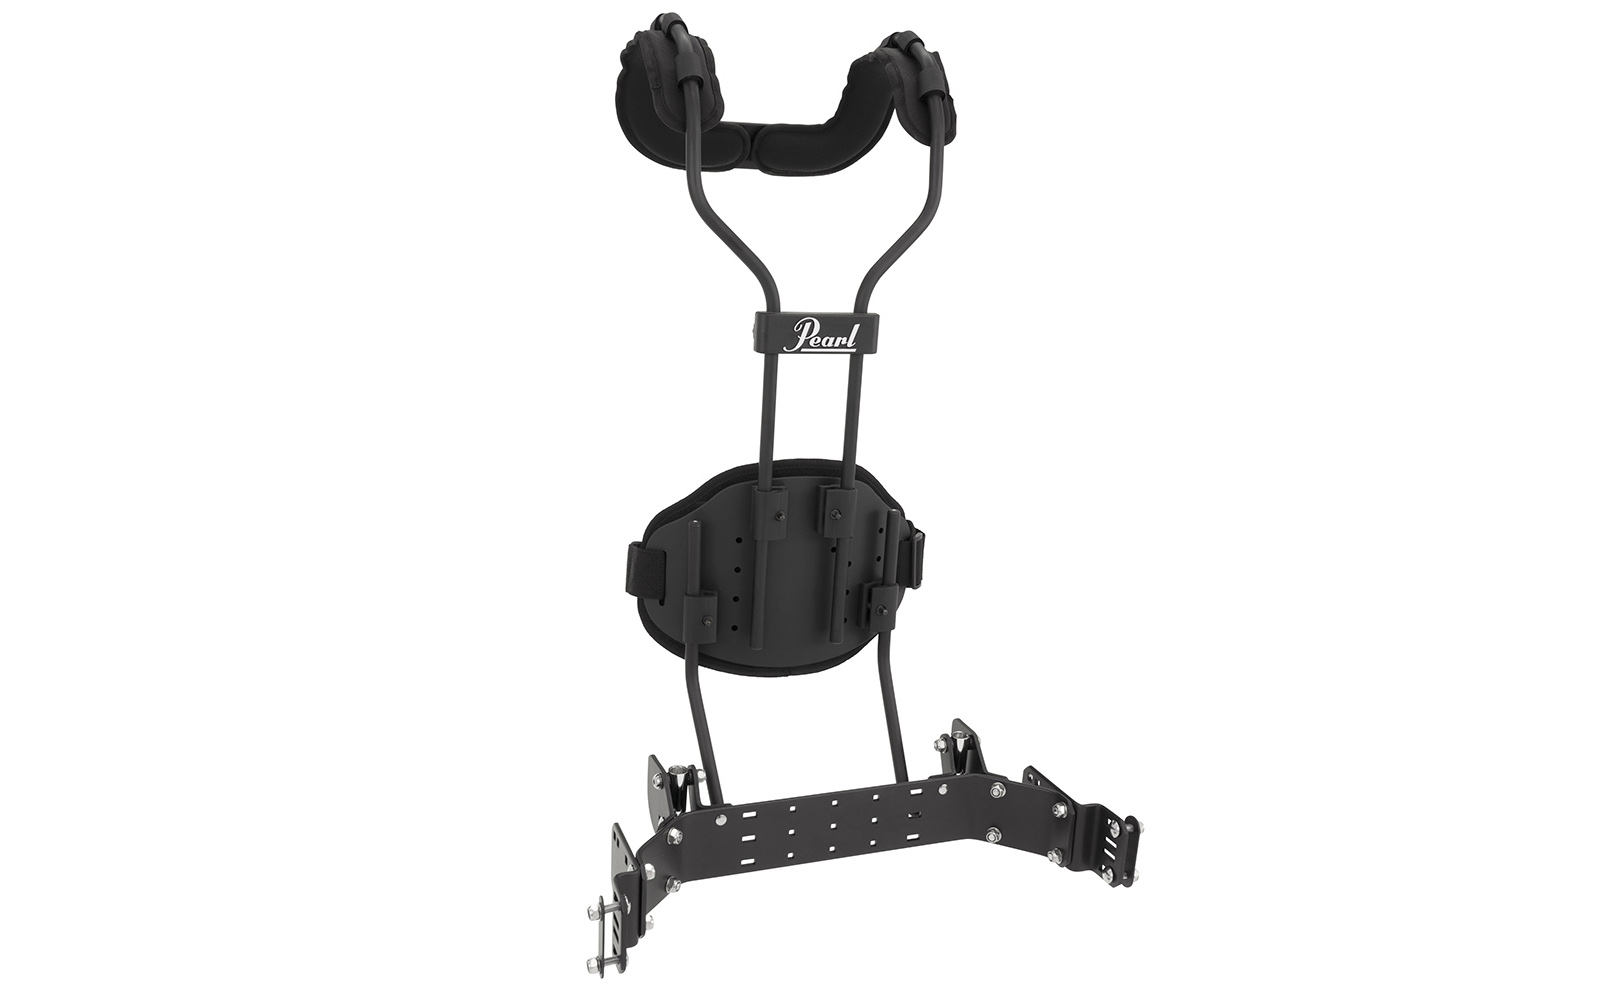
Pearl CX Airframe 2: ships in Small-Petite, Medium-Standard, and Large-Plus shoulder assemblies, plus the Agility Control System belt that shifts load from the shoulders to the hips
-
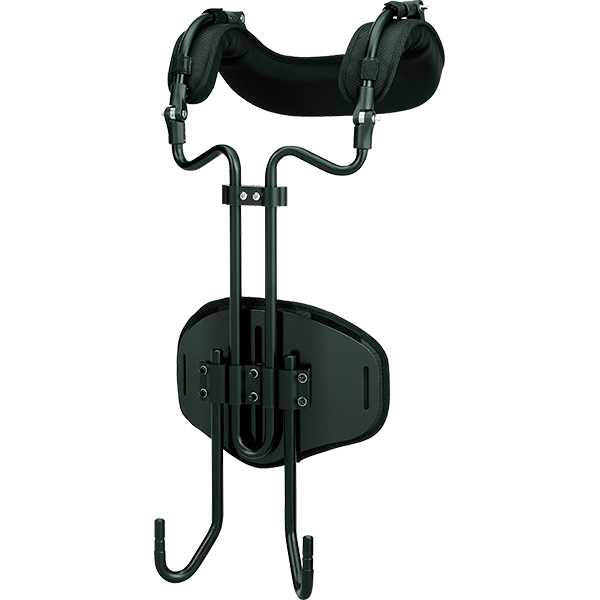 Tama Fieldstar: uses a gearless shoulder pipe adjustment and a Safety Lock mount that secures the drum without a separate bolt step
-
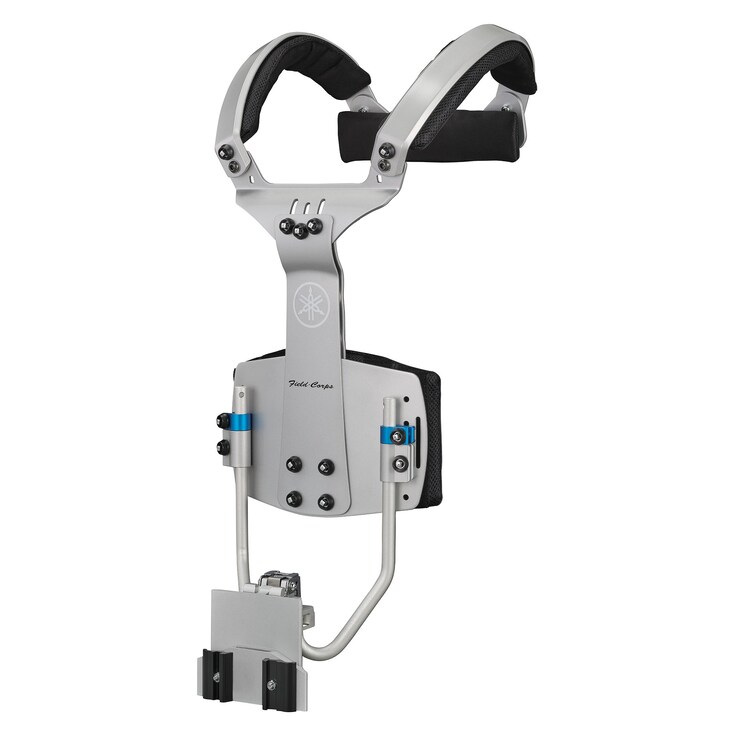 Yamaha Field Corps (9600 series): Yamaha's newer, in-house-built carrier line, replacing the older Randall May-built Power-Lite and Posto models; player-side adjustments turn with a standard drum key, and a quick lock mounting system with memory clamps holds the setting
These systems are rarely interchangeable, and knowing the exact bolt or lever you need is difficult, especially with mixed hardware and pieces that aren't used often. Consult the manufacturer's manual for the specific model before the first fitting of the season instead of guessing from a carrier that looks similar.
Adjusting Stands
Stands are nearly as critical as harnesses, giving your players a much needed rest from holding heavy drums so they can focus entirely on the music.
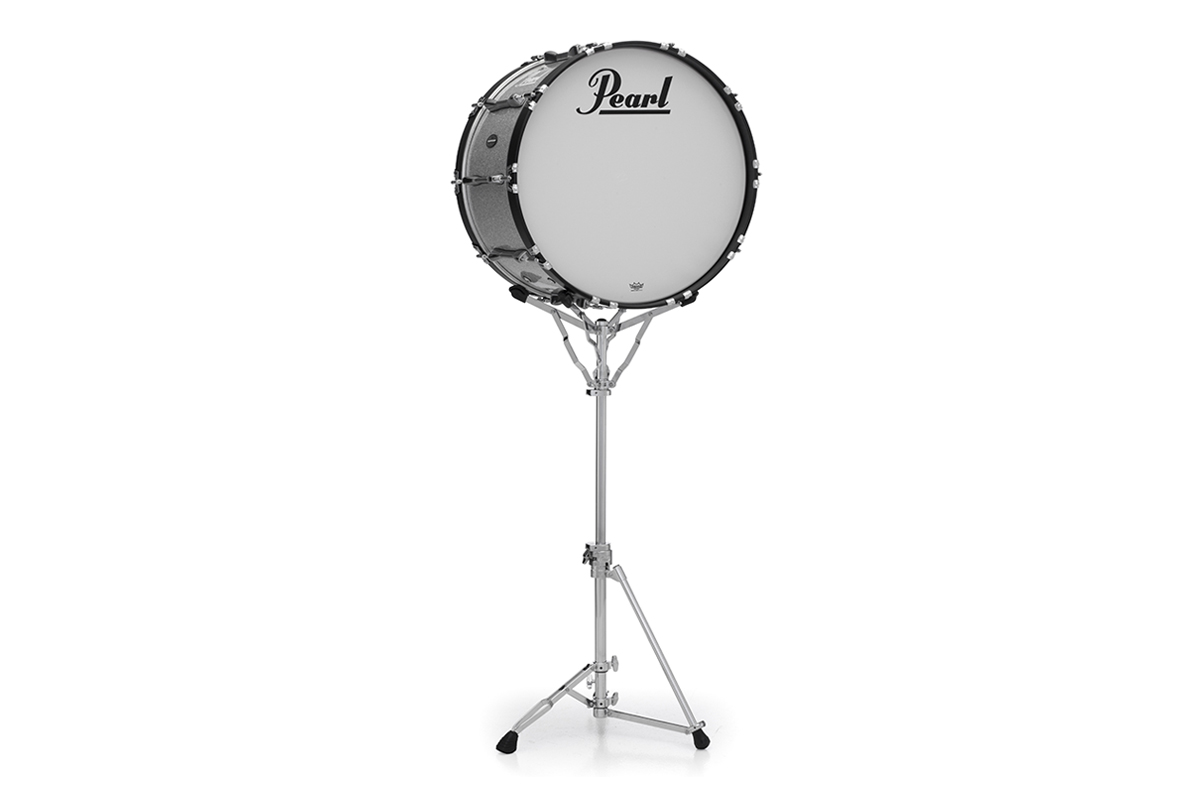
The same ergonomic principles apply: stand height should put the drum's playing surface at a comfortable, level position at roughly belt height. The slightest lean changes stick rebound and feel, jeopardizing consistent technique.
Check the tripod legs and the center post lock on a stand the same way you'd check a harness frame. A stand that won't hold its height under normal playing pressure is a stand that's eventually going to drop a drum. Maintenance prevents disaster!
Preseason Checklist and Replacement Timeline
Most hardware failures we see during marching season were visible weeks earlier. A quick check per harness and stand before the first rehearsal catches almost all of them.
What to Inspect
- Frame welds and joints for cracks or visible bending
- Shoulder pads and waist padding for compression, splitting, or missing foam
- Every adjustment bolt for stripped threads or missing hardware
- Metal parts for rust or corrosion, especially if stored in a damp location
- Stand tripod legs and center post locks for slippage under load
Once a week, tighten loose wing nuts and bolts (but don't overtighten!) to catch hardware problems before they become a repair.
When to Replace
Padding and straps wear out the fastest, plan on replacing those every 2 to 3 years of regular marching use regardless of how they look. Aluminum frames hold up much longer if they're never dropped or bent, but a cracked weld or a bent tube requires replacement and not repair. Cracks and bends eventually lead to complete carrier failure (aka your drum suddenly falling 5 feet onto concrete).
Loose bolts, worn padding, and strap replacement can be handled in-house with a basic repair kit. Call in a professional when you're looking at a cracked frame, a bent carrier, or a full equipment audit across your inventory before a contest season. That's the exact gap our preseason maintenance visits are built to fill.
Set aside time early in the season to carefully inspect every harness and stand in your inventory, not just the ones students have already flagged. If something needs more than a bolt tightened, reach out to us and we'll get it back on the field before you need it.
Better Fit = Better Drumline
The harness is the last thing you want your drummers thinking about while they play from rehearsal G to H and crabstep across the 50. Help your students focus on the performance and reduce injury risk with equipment that's fitted appropriately and ergonomically for each individual.